
7 Tips for Creating Realistic Nature Scenes in Blender
Blender is one of the most in-demand open suites loved by all. The best blender tutorials show you how to create breath-taking animations to produce a realistic outlook. Developing realistic nature scenes in Blender can be challenging, but you can quickly achieve stunning results with the right tips and assets. To make this happen far more efficiently, it is always better to get associated with the experts who help you learn blender courses online and make you professional.
This blog will explore some best practices and resources for making believable landscapes, foliage, and weather effects in Blender.
Tip #1: Use a Good Reference
An accurate reference is crucial before you begin modelling or texturing any elements of your natural scene. This could be a real-life observation, picture, painting, video, or another medium. If you have a reference, you will better understand the forms, hues, and specifics of the natural elements you wish to recreate. Also, it will motivate you and provide you with an objective!
Tip #2: Keep it Simple
Even though nature landscapes can be intricate and varied, it's crucial to maintain organisation and control over your Blender project. Include only the most necessary elements, such as hills, valleys, and rivers, after starting with a simple landscape, like a plane or a cube. After that, progressively add more specifics like rocks, trees, and grass. Avoid attempting to model everything simultaneously because it can slow down your computer and overwhelm you.
Tip #3: Use Procedural Textures
One of the most crucial steps in using Blender to create realistic nature scenes is texturing. Though manually, painting or applying textures to every object can be laborious and repetitious. Because of this, employing procedural textures can give you more control and variety while saving you time and effort. Algorithms create procedural textures that mimic various natural patterns like wood, marble, clouds, and grass. Although Blender has a vast collection of generated textures, you can make your own or obtain them from outside sources.
Tip #4: Add Depth with Particles
In Blender, particles are an effective tool for giving your nature scene depth and motion. Particles can be used to make realistic grass, leaves, flowers, snow, and rain. Moreover, particles can interact with their surroundings and other particles, such as by swinging in the wind or dropping to the earth. Setting up the emitter, particle system, and material characteristics—such as size, shape, density, and colour—is necessary for effective particle utilisation.
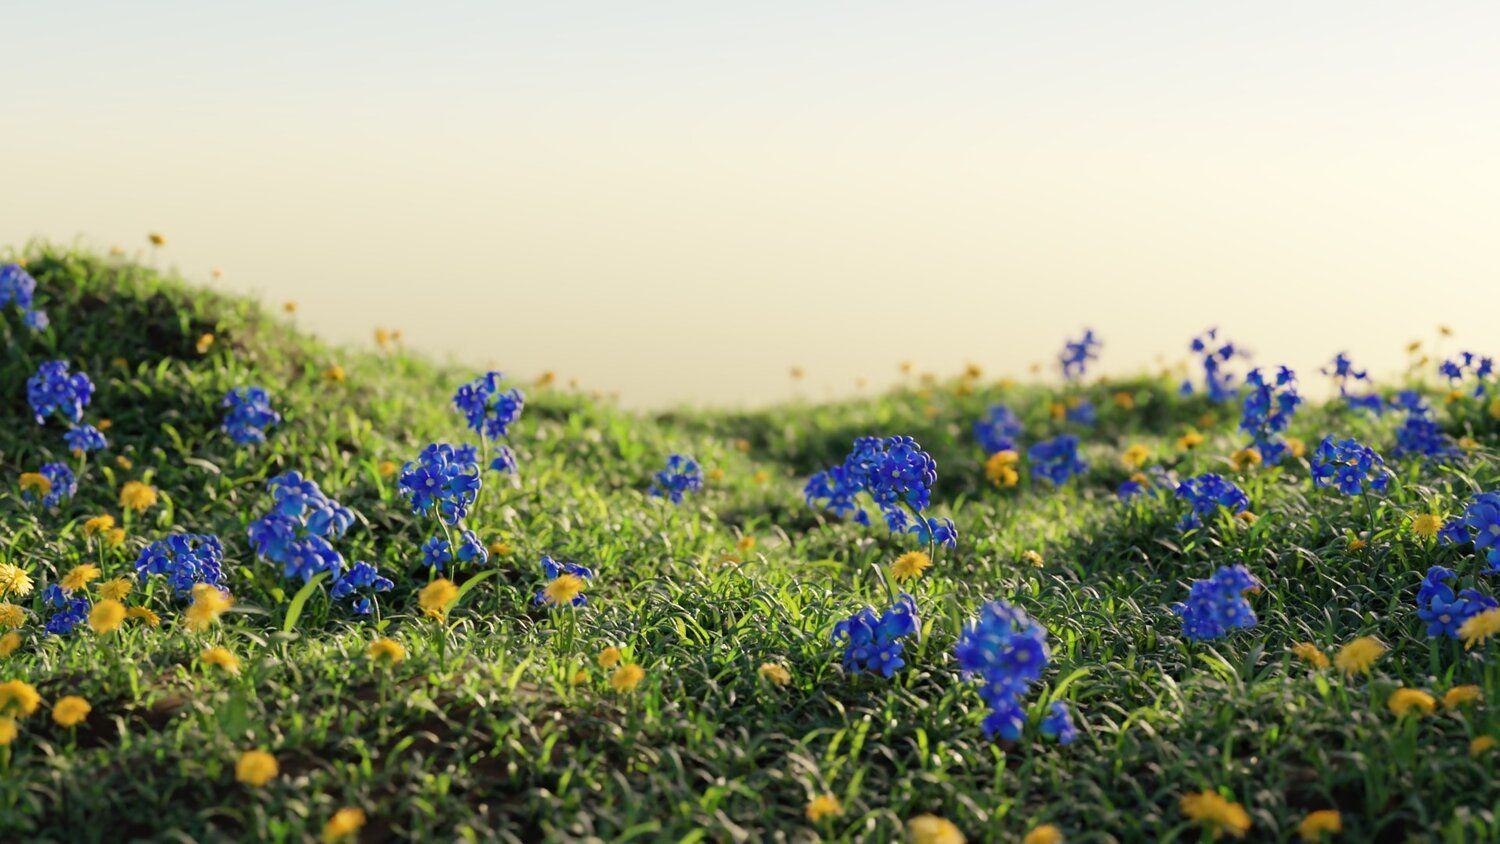
Tip #5: Asset- The Grass Essentials
Andrew Price, popularly known as Blender Guru, is the author of the well-liked and extensive asset collection for Blender called The Grass Basics. Together with more than 50 distinct kinds of grass, The Grass Essentials also includes rocks, trees, flowers, and other natural components. The components have thorough documentation and video lessons and are optimised for realistic rendering.
Tip #6 Learn 3D Asset Creation with Blender Course
ProAlley has premium online courses, among which 3D Asset Creation with Blender is one of the best. It covers all aspects of creating realistic nature scenes in Blender, from sculpting to animating weather effects. The 3D asset creation with quality textures, models, and HDRIs, as well as custom scripts and tools.
Tip #7: How to Improve your Nature Creation Workflow in Blender?
As you learn blender course online, you will be open to a pool of creative techniques you need to use to produce something out of the box. As you follow the sets of asset creation, here are some more tips to make your work even more enjoyable.
1: Scatter Assets
You can never have enough of the scattered stones, branches, debris and even leaves when you choose to use the software Blender to create realistic nature scenes. Trying to do it manually will take a long time, and you will miss out on creativity. Choosing the best blender tutorials teaches you how to use the techniques and processes that make the entire scene easier for you.
2: The Preinstalled Scatter Objects Add-ons
There are a bunch of handy scatter add-ons which is already in the Blender. You will get a few simple sets that will help you fulfil the whole purpose of delivering more of these assets for a realistic output. The fundamental downside tool is its destructive nature, which means it can't adjust the settings even after the scattering is applied to the scene.
3: Particle Systems
In earlier times, the particle system was the go-to option for scattering objects or assets. In fact, till now, they have done a great job customising and animating the settings in a step-by-step process. There is no convincing reason to use it instead of the geometric nodes if you use the old Blender 2.92 version.
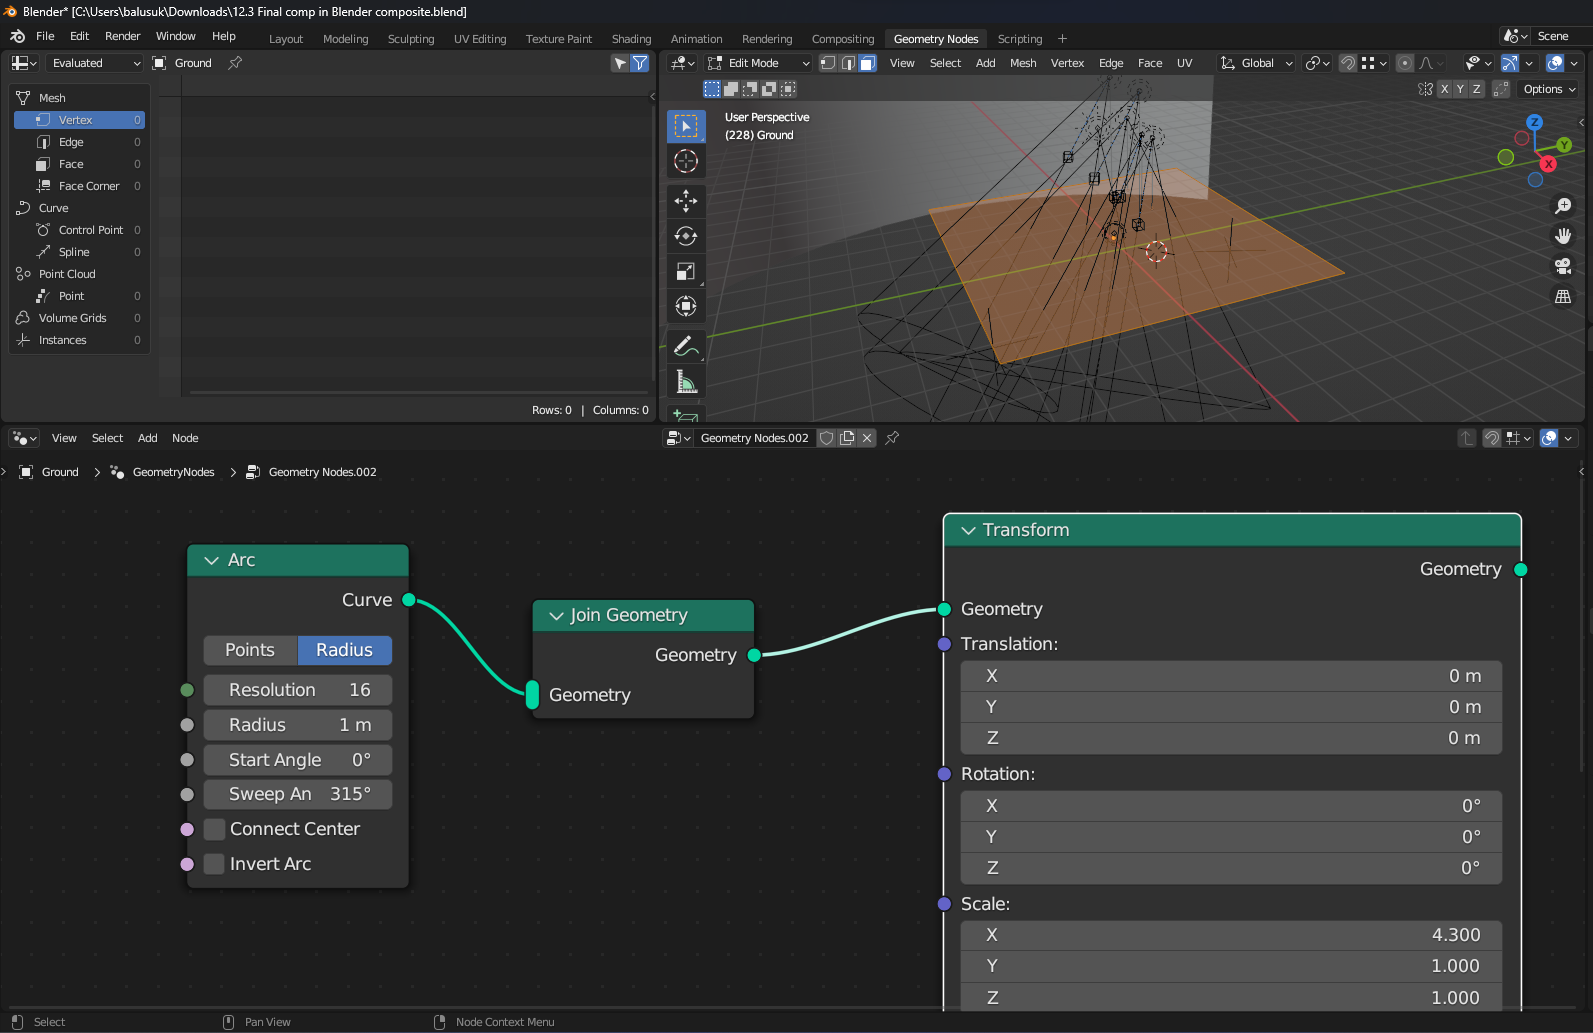
4: The Geometry Nodes
The most futuristic proof is to spend the asset across the scene, called geometry nodes. This editor version was introduced in Blender 2.92 and updated in the 2.93 version. The node-based approach's popularity is it gives many control options. It helps in customising and fine-tuning the scattering of the assets. It may need to be more intuitive initially, but as you take the best blender tutorials, you will get a hands-on learning experience.
5: G Scatter Add-on options
The release of the scatter add-on feature is wholly based on the geometry nodes. It suits non-destructive workflows. It is completely free to us, and it can scatter creative assets of high quality. The feature is still in development, so that occasional bugs can create trouble.
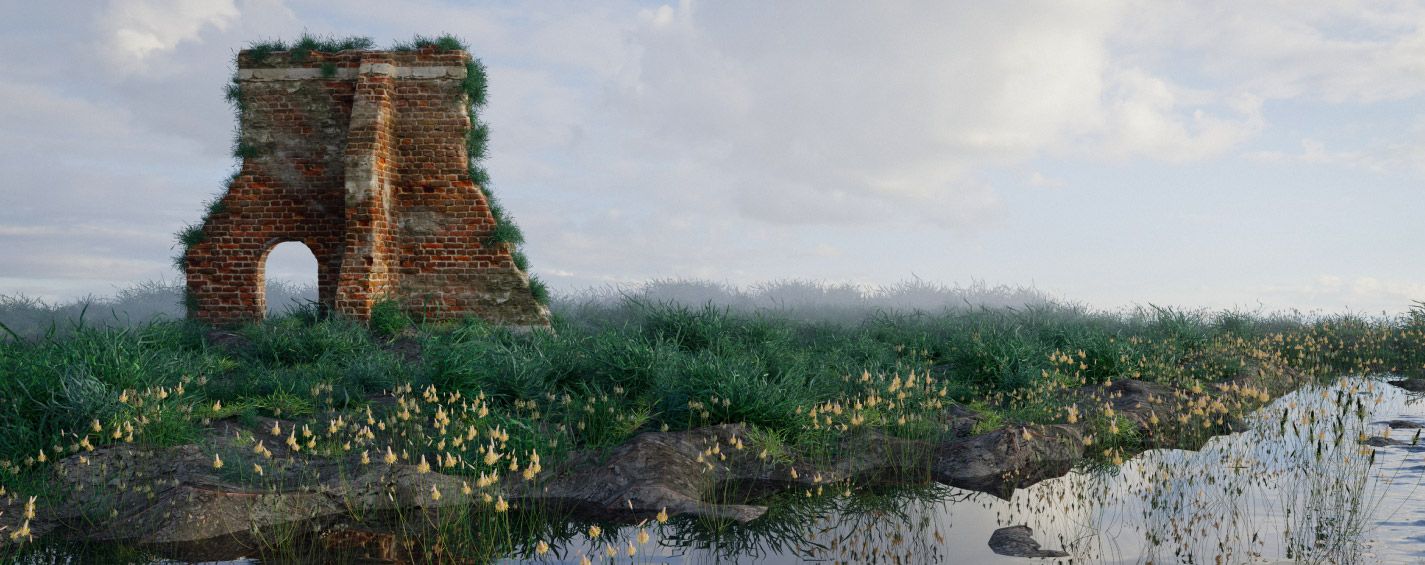
6: Photogrammetry
One of the finest ways to create highly realistic nature assets is by developing photo scans. It is an enjoyable task. It would help if you had a camera and the photogrammetry software. Even a smartphone can be used to click the images. It is a free program that can be easily manipulated. It is a great technique that can be used for creating highly gettable authentic images.
7: Textures for Realism
The procedural textures are a hard thing to do, yet it looks incredible and attractive. It needs your blender training to get professional hands-on experience to create a photoreal outlook. High-quality PRB textures are required use in the process to create the effect.
8: Real-World Scale
We cannot even measure the importance of this feature and how much valuable it is to model your assets for a real-world effect. The properties are essential as you combine your objects, or you will lose realism while rendering. Thus, realistic rendering needs real things as simulations; depth is crucial in proper proportions. Therefore, starting from the beginning, as you learn Blender online or blender training, scale up things accurately for a perfect realistic asset effect to reduce headaches in future.
In conclusion, creating realistic nature scenes in Blender requires a combination of skills, creativity, and resources. Following the tips and using the assets mentioned in this blog can improve your workflow and achieve more convincing results. Enrol in the best blender tutorials or learn blender courses to master the techniques and tools from experts.
Remember to experiment, learn, and have fun with Blender!